Tennis Drills for Kids: 12 Fun Exercises for Beginners
Dhwani Shah
May 5, 2026
‧
10 mins

Young tennis players don't want to stand at the baseline hitting the same forehand for 20 minutes. They want to move, compete, laugh, and feel like they're getting better. The coaches who get the best results from beginners are the ones who understand that distinction, and build sessions where the learning happens inside the fun, not despite it.
These 12 drills are designed for children and absolute beginners aged 4-12, covering the core skills every young player needs: racket control and hand-eye coordination, groundstrokes (forehand and backhand), footwork and movement, volleys, serving basics, and rally-based game sense. Each drill is organised by skill focus, so you can pick the ones that match your session goal rather than running them all in one go.
Every drill includes setup instructions, coaching points, age guidance, and variations for different ability levels. So whether you're working with a group of 5-year-olds who've never held a racket, or 10-year-olds starting their second season, there's something here you can use on court tomorrow.
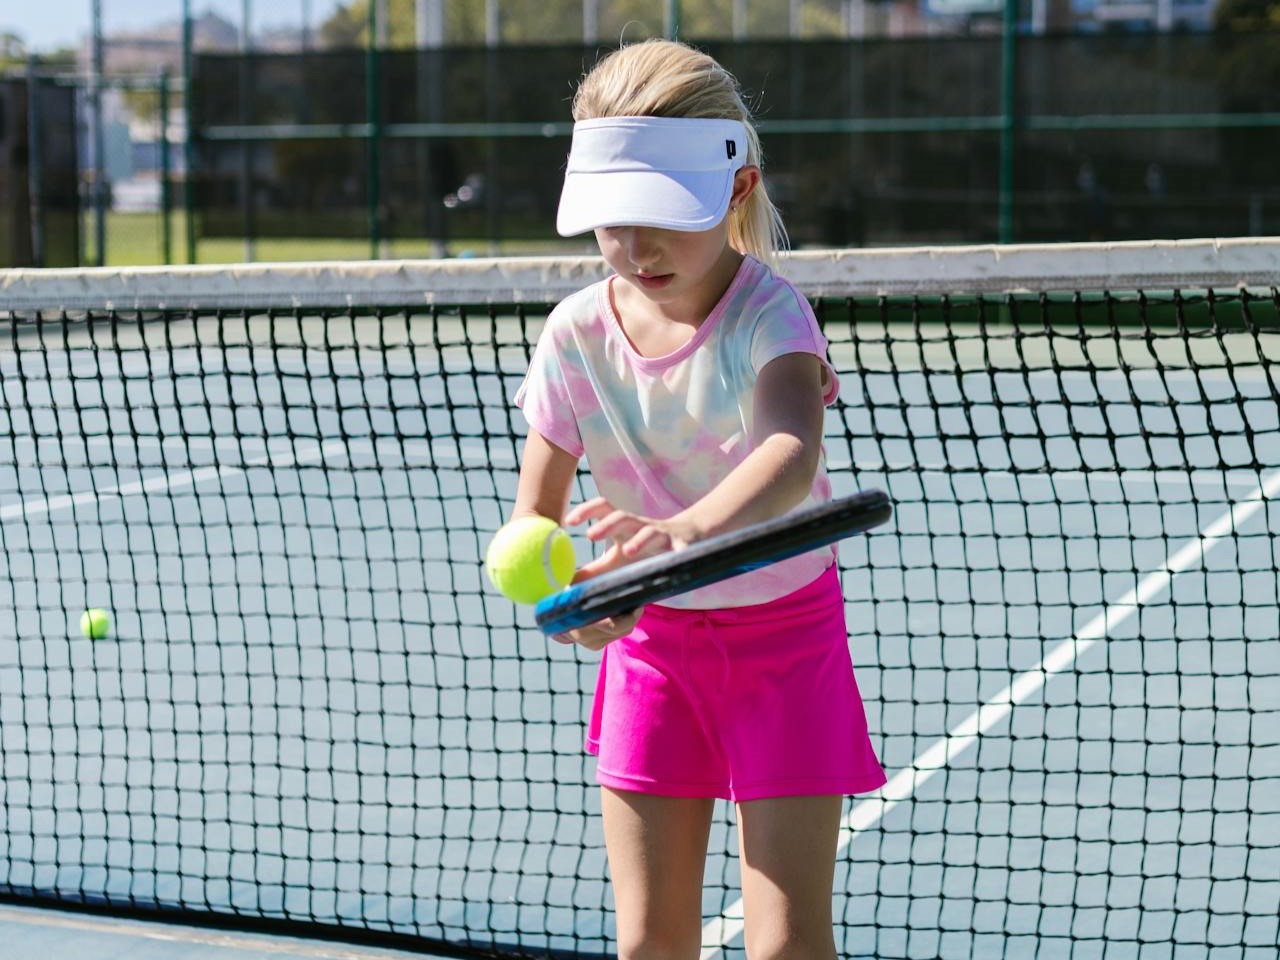
These drills come before anything else. A child who can't control the racket or track the ball can't do groundstrokes, volleys, or anything else. Spend more time here than you think you need to; the investment pays off in every drill that follows.
Ages: 4-10
Time: 4-5 minutes
Equipment: One racket and one ball per player
How-to: Each player holds a racket and a ball. They bounce the ball on the court with their free hand and catch it before it bounces a second time. Once they're comfortable, progress to bouncing the ball off the racket face (upward tap, also called "keepy-uppies"). Count consecutive bounces to make it a personal best challenge.
This drill develops the fundamental hand-eye coordination that underpins every shot in tennis. It also teaches players to watch the ball closely, the single most important habit in tennis, in an environment where there's no pressure and no technique to think about yet.
Coaching points: Encourage players to watch the ball, not the racket. Relax the wrist; a tight grip makes control harder, not easier. For upward bouncing, the racket face should be flat (parallel to the ground), not angled.
Variation for beginners (U6): Use a foam ball or balloon to allow for slower movement; more time to react, less frustration.
Variation for progression: Alternate between bouncing up and bouncing down (tapping the ball into the ground with the racket face). Then try walking across the court while keeping the bounce going to work on movement while maintaining control.
Ages: 4-8
Time: 5-6 minutes
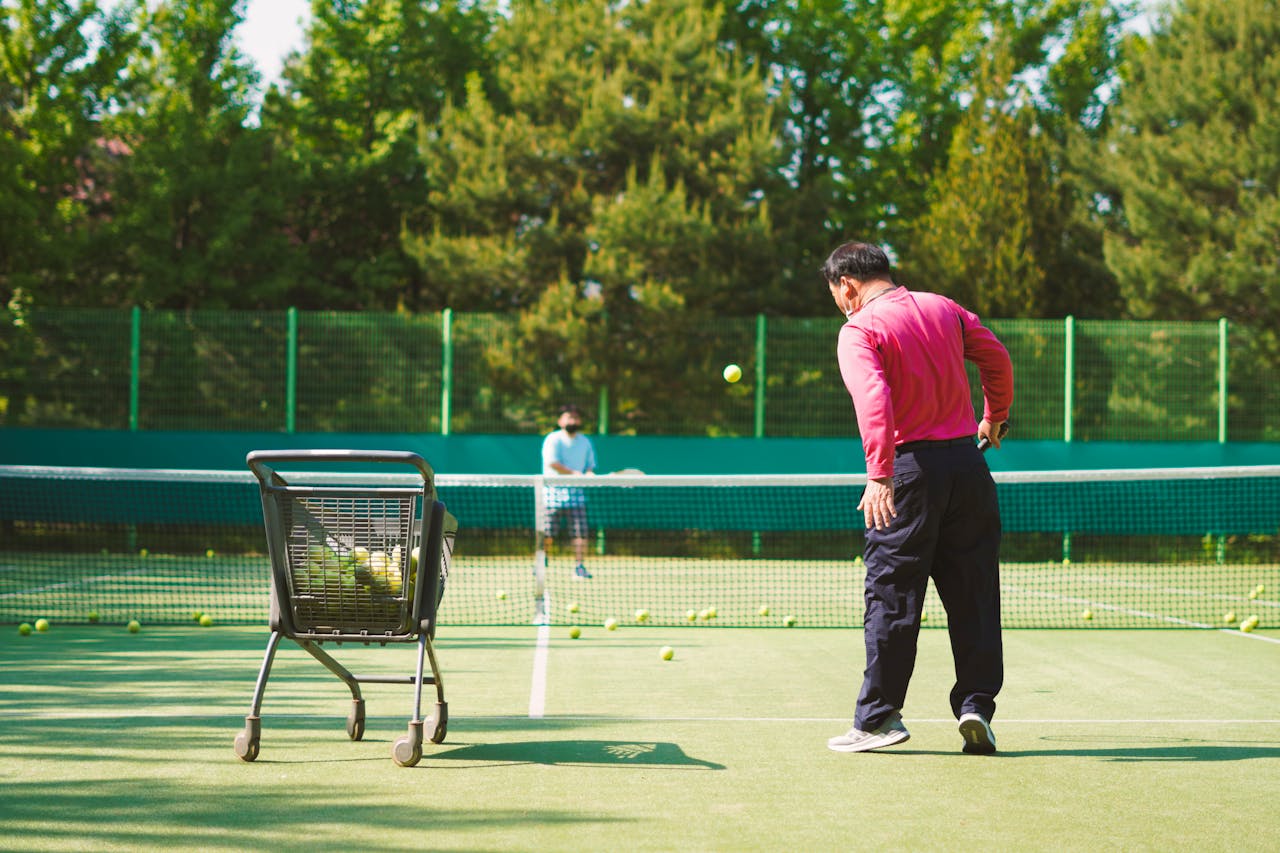
Equipment: Ball basket, rackets
How-to: The coach stands at the net with a basket of balls and feeds one at a time, underarm, gently towards the player standing at the service line. The player catches the ball in their non-dominant hand (no racket yet). Progress to catching with the racket face, then to a gentle hit back to the coach.
Feeding drills are underrated for absolute beginners because they isolate the tracking problem. Most young players who "miss the ball" aren't technically deficient, they're just not watching it. Catching removes all the technique variables and focuses entirely on ball tracking.
Coaching points: "Watch the ball all the way into your hand" is the cue. Encourage players to call out "bounce" when the ball bounces to reinforce the tracking habit. When they progress to hitting, keep feeds slow and well-placed. Success builds confidence faster than anything else.
Variation: Progress from stationary to moving. The coach feeds to slightly different positions so the player must move 1-2 steps to reach the ball. This introduces footwork without making it feel like a footwork drill.
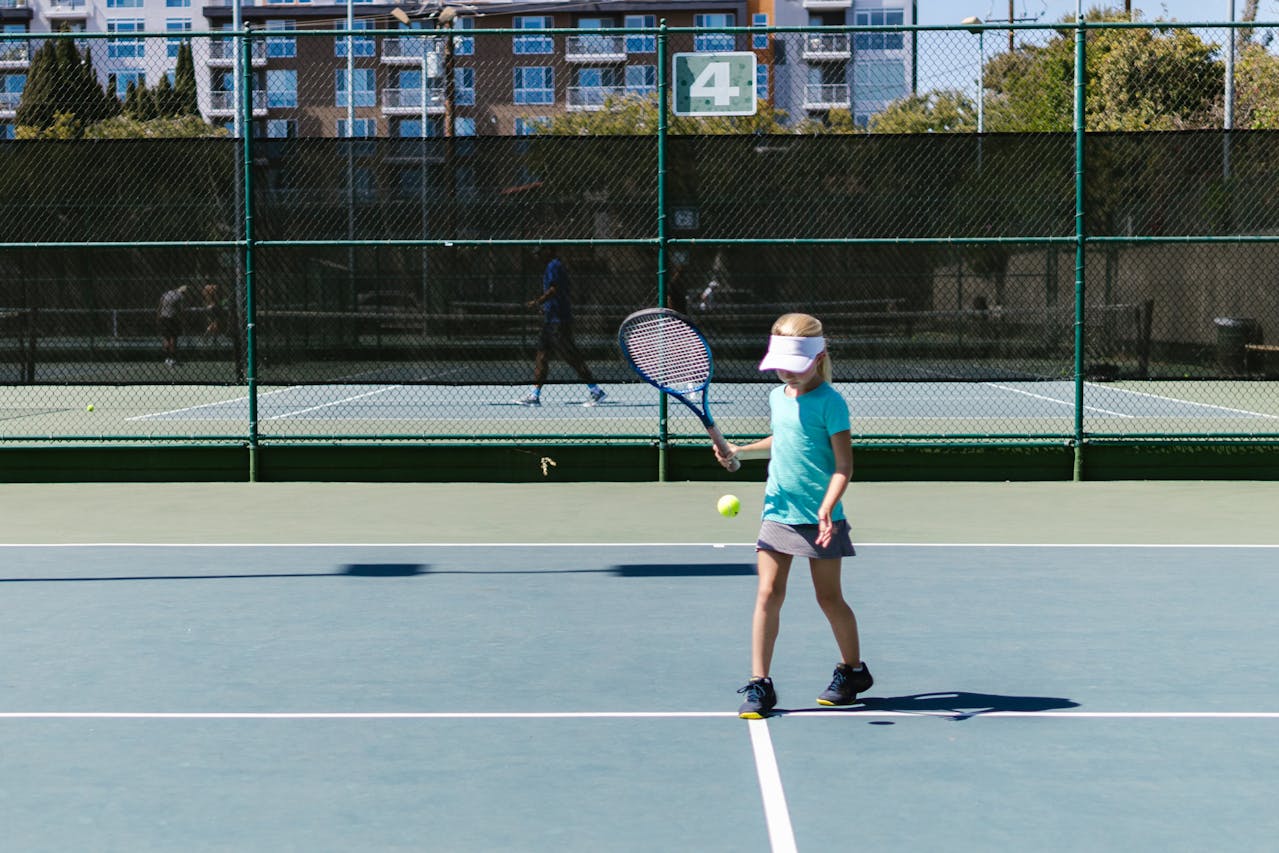
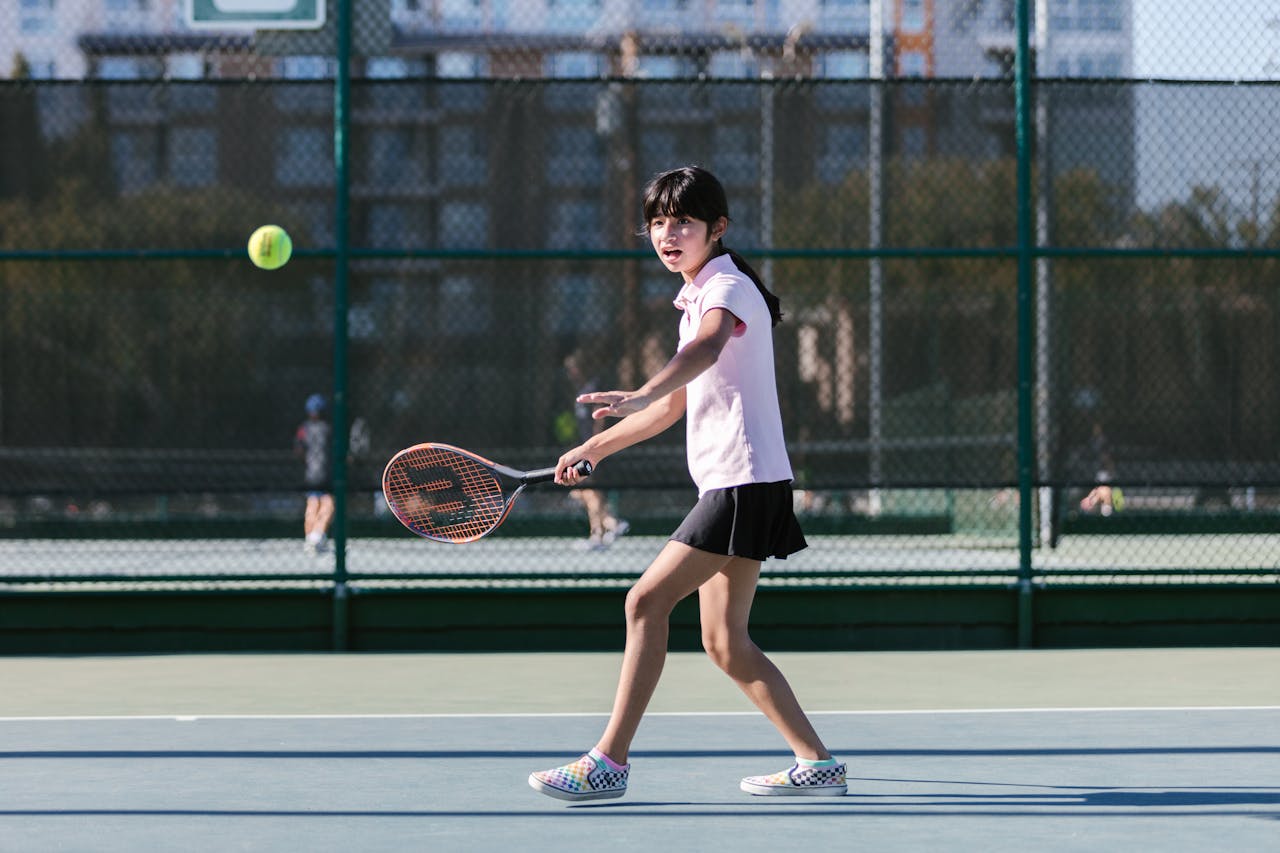
The forehand is almost always the first stroke young players learn. It's the most natural motion and the most immediately rewarding. These drills build solid technique through repetition that doesn't feel like repetition.

Ages: 5-12
Time: 10-12 minutes
Equipment: Foam/red balls, nets, rackets
How-to: Using a foam or low-compression red ball (slower and higher-bouncing than a standard tennis ball). Players pair up and rally across the net from the service line. The goal is simply to keep the ball going - no score, no winner, just consecutive hits. Count the rally length as a team challenge: "Can we beat our record of 8?"
Red balls are one of the best innovations in junior tennis development. They remove the frustration of standard balls that bounce too fast and too low for young players to track and strike, and create an environment where beginners can actually rally, which builds technique and confidence simultaneously. Most national tennis associations now recommend them for under-10s.
Coaching points: Ready position between shots - feet roughly shoulder-width apart, racket in front, weight slightly forward. Turn sideways to the ball for the forehand. Follow through up and across the body toward the target. Keep it simple - one or two cues per player, not five.
Variation for beginners: Start even closer than the service line, even inside it, and gradually move back as rallies get longer.
Variation for advanced beginners: Introduce a target, like a cone or a hoop on the other side of the net, and challenge players to aim for it.
Ages: 6-12
Time: 8-10 minutes
Equipment: Ball basket, rackets
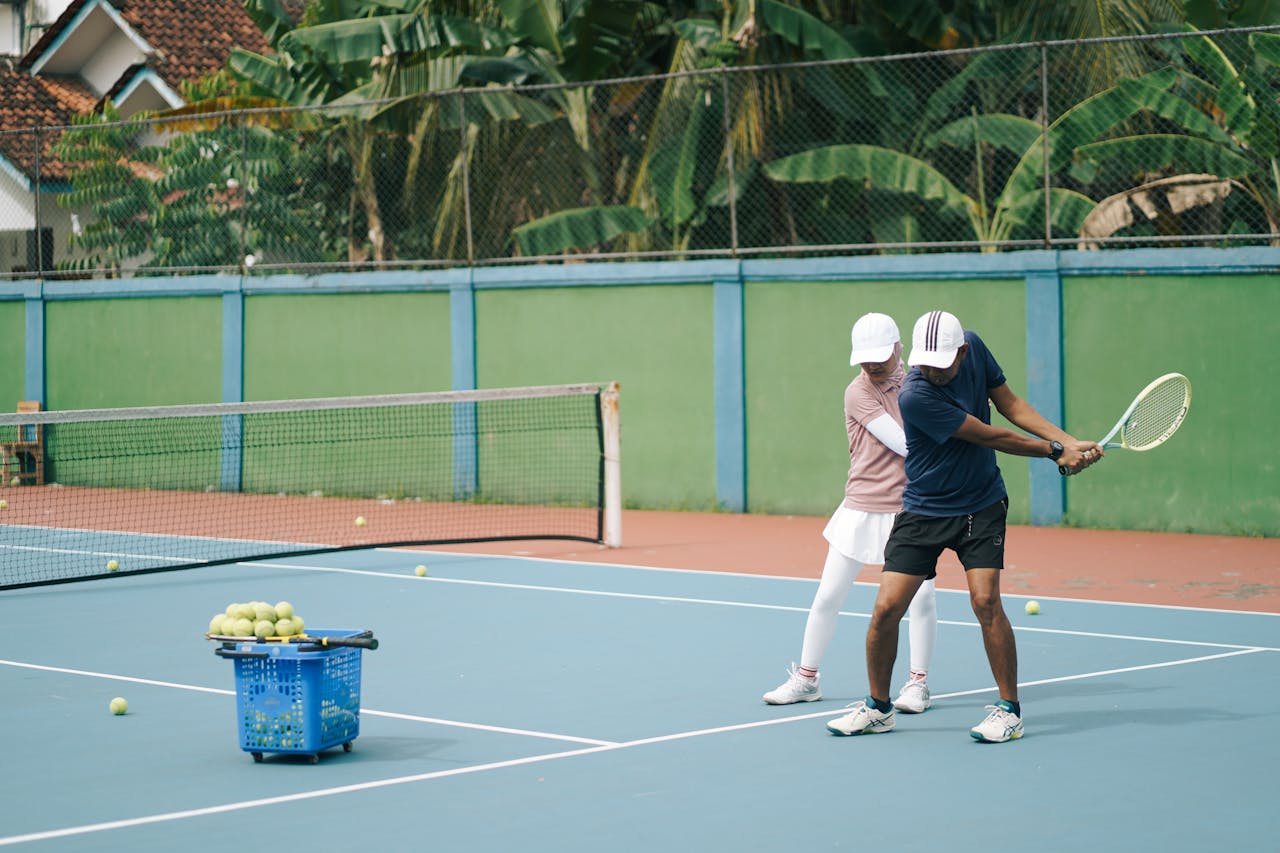
How-to: The coach feeds a ball to one side of the player (just outside their comfortable reach), the player moves to hit it, recovers to the centre, and the coach feeds to the other side. Alternate left and right. Keep the rhythm consistent. The player should be moving, hitting, and recovering in a continuous flow.
This drill introduces the most important concept in groundstroke play that beginners never learn from rally drills alone: you have to move to the ball before you hit it, and recover after every shot. Without this habit, even technically decent young players fall apart in real match situations because they're always hitting from the wrong position.
Coaching points: Move feet first, then swing. The player should arrive at the ball early enough to set their feet before hitting, not reach for it while still moving. Split step after recovery (a small hop to balance weight on both feet and prepare to move again). Praise the movement as much as the shot quality.
Variation: Increase the feed distance to stretch the player further. Add a third ball to one side to create a pattern (left, centre, right) that the player has to anticipate.
Ages: 5-12
Time: 15-20 minutes
Equipment: Net (or cones), red/orange balls, rackets
How-to: Mark out a mini-court using the service boxes, approximately 8 metres long and 4 metres wide per side. Players rally across the net from inside the service lines, using the service boxes as the boundaries. Score to 7 points, serve by dropping the ball and hitting it. Rotate opponents every 7-10 minutes.
Mini-tennis is the drill format that produces the most development per minute of court time for beginners. The short court creates more rally exchanges, more decision-making moments, and more touches per session than full-court play. The scoring element adds competitive engagement that makes players focus harder than they do in non-scoring drills.
Coaching points: Resist the urge to over-coach during play. Let them make mistakes and work through them. Intervene briefly ("try slowing your swing down") and step back. The game context is where learning consolidates. If scores are very one-sided, give the weaker player a handicap start.
Tennis is a movement sport. A player who hits beautifully from a static position will struggle in real matches. These drills build the athletic foundation - agility, balance, split step, and directional speed - that all groundstroke and volley technique depends on.
Ages: 5-12
Time: 6-8 minutes
Equipment: Cones, optional rackets and balls
How-to: Set up 4-6 cones in a line, each about 1.5 metres apart. Players side-shuffle through the cones (facing the net throughout, not crossing their feet), then sprint to a target cone and back. Vary the movement pattern each round: side-shuffle, high knees, crossover steps, sprint-and-stop.
Tennis footwork is lateral. Players are almost always moving sideways to the ball, not directly forward or backward. Side-shuffle technique (staying low, not crossing feet, staying balanced) is a specific athletic skill that doesn't come naturally to children who spend most of their time running forward. Drilling it without a ball first makes it automatic when the ball enters the picture.
Coaching points: Stay low - bent knees, athletic stance. Don't cross feet during the shuffle. Keep the racket up and ready. On the sprint sections, encourage a strong push-off from the first step rather than a flat-footed start.
Variation: Add a racket and ball to the circuit. Players shuffle through the cones while bouncing the ball on the racket face. This combines footwork with ball control and significantly increases difficulty.
Ages: 6-12
Time: 6-8 minutes
Equipment: None (add balls and rackets for variation)
How-to: Players stand at the baseline. The coach stands at the net holding a ball. When the coach drops their hand (simulating a ball being hit), every player performs a split step - the small hop that loads their weight ready to move in any direction. The coach then points left or right, and players sprint to that side and touch the sideline.
The split step is the most important movement technique in tennis, and the most neglected in junior coaching. It's the brief hop that professional players make as their opponent strikes the ball. It loads the legs and allows instant movement in any direction. Beginners who don't have a split step habit are always late to the ball, even if their strokes are technically sound.
Coaching points: The split step should happen as the "opponent" (or coach) strikes the ball;not before, not after. Land on both feet simultaneously, with weight slightly forward. Immediately push off the landing foot in the direction of the ball. This timing is difficult and takes repetition. Drill it without pressure first.
Variation: Add a ball after the directional sprint. The coach feeds a ball to the side they pointed to, and the player must hit it after the sprint.
Most beginners are terrified of the net. These drills build volley confidence through simple, low-pressure formats that feel more like catching games than technical drills.
Ages: 5-12
Time: 6-8 minutes
Equipment: Ball basket, rackets
How-to: Players stand at the net (about 1 metre back, not right at the net post). The coach feeds gentle, slow balls directly at them. Instead of hitting, players catch the ball with their non-dominant hand. Once comfortable, they catch on the racket face, then progress to a gentle punch volley back.
Volleys fail for beginners for two reasons: they swing at the ball (forehand technique applied at the wrong time) and they back away from it (instinctive flinch). Catching drills fix both problems in one format. Once a player has caught 20 balls cleanly at the net, the volley punch motion feels natural because they're already comfortable with the ball coming at them fast.
Coaching points: Don't swing, punch forward. Keep the racket face open (tilted slightly back). Move forward toward the ball rather than waiting for it to come to you. Footstep into the volley, step with the opposite foot to the racket hand (left foot steps in for a forehand volley for a right-hander).
Variation: Progress from two-handed catch to one-hand catch to racket face catch to punch volley in the same session. Each stage is only 3-4 balls. Move quickly through the progression.
Ages: 7-12
Time: 6-8 minutes
Equipment: Rackets, balls, net
How-to: Players pair up and stand 3-4 metres apart, either side of the net. They volley to each other; no bouncing, just direct exchanges. Count consecutive volleys as a team challenge.
This is the most game-like format for volley practice because it creates the same read-and-react demands as match play, at a pace that's manageable for beginners. Players learn to watch the ball off their partner's racket, adjust their position, and control the racket face, all without the coach feeding every ball.
Coaching points: Short backswing - the racket should barely go behind the body. Firm wrist at contact. Meet the ball in front of the body. If rallies keep breaking down, move the players closer together and build the distance back up as confidence grows.
Ages: 5-10
Time: 8-10 minutes
Equipment: Rackets, balls, net
How-to: Players stand at the service line (not the baseline, since that is too far for beginners). They drop the ball from their non-racket hand, let it bounce once, and hit it over the net into the opposite service box. This simplified serve with the bounce, removes the toss complexity and lets young players focus on the swing motion, contact point, and target.
Serving is the most technically complex stroke in tennis, and trying to teach a full serve with a toss to a 6-year-old usually ends in frustration. The drop feed serve is the correct developmental entry point. It establishes the swing path and contact habit without the coordination demands of the toss.
Coaching points: Scratch the back - the racket head should drop behind the shoulder before coming up to contact (like scratching your back). Contact point is in front of and above the head, with the arm fully extended. Aim for a specific target in the service box rather than just "over the net." Celebrate every successful serve regardless of placement.
Variation: Once players are comfortable with the drop feed, introduce a static toss. The ball is held above the head and released (not tossed) and struck without bouncing. This is the bridge to the full serve.

Ages: 6-12
Time: 15-20 minutes
Equipment: Net, balls, rackets, cones for court boundaries
How-to: Set up a short court using the service boxes. One player starts on one side ("the throne"). Other players line up on the other side. A feeder (coach or a designated player) feeds the ball and a point is played out. If the challenger wins, they take the throne. If the king/queen wins, the challenger goes to the back of the line and the next player comes in. The player who holds the throne the longest wins.
This is one of the most engagement-generating formats in junior tennis, and it works equally well for beginners and advanced players because the ability gap is handled naturally. Better players hold the throne longer, but beginners get equal opportunity to challenge. The rotation format means no one waits long, and the competitive element pushes effort levels higher than any cooperative drill.
Coaching points: Encourage players waiting in line to watch the point being played. "What would you do in that situation?" sets up the habit of tactical observation. Don't correct technique during play. Save coaching moments for between points.
Ages: 7-12
Time: 10-12 minutes
Equipment: Hoops or cones, balls, rackets, net
How-to: Place a hoop or a cone target in each corner of the service boxes on one side of the net. Players rally from the service line (using red or orange balls) and score a point each time they hit their ball into a target area, regardless of whether the rally continues. Play to 10 points.
This drill builds directional control, the ability to aim a shot, not just get it over the net, which is the skill that separates beginners who are improving from those who've plateaued. It also introduces the concept of targeting, which is the foundation of all tactical decision-making in tennis.
Coaching points: Encourage players to decide where they're hitting before they swing, not after. "Pick your target before the ball arrives" is the cue. Don't penalise misses heavily. Praise good decisions as well as good execution. A player who aimed for the right target and missed slightly is doing better than one who hit it without thinking.
Variation: Add a second target on the opposite side. Players alternate targets on consecutive shots. This simulates the cross-court/down-the-line decision that occurs in real play.
A well-structured 60-minute session for junior beginners typically looks like this:
Warm-up and ball control (10 minutes): Start with Bounce and Catch or Target Feeding. Every player should be touching a ball within the first 60 seconds of the session - no standing around while the coach talks.
Technical focus (20 minutes): Choose one or two drills from the groundstroke or footwork sections that match your weekly theme. If you're working on forehands this week, use Feed and Move plus Red Ball Rallying. If footwork is the focus, use the Cone Agility Circuit followed by Feed and Move.
Volley or serve focus (10 minutes): Rotate through Catch Volleys or Drop Feed Serve, depending on what you've been building toward. Don't introduce both in the same session for true beginners.
Game format (15-20 minutes): Mini-Tennis or King/Queen of the Court. This is where technical learning consolidates into game intelligence. Resist the urge to stop play and lecture, let the game run.
Cool-down (5 minutes): Light stretch, a quick team discussion ("what did you work on today? who hit a shot they were proud of?"), and a positive close. End on a high. Players who leave a session feeling good come back next week.
The drills above will develop technically better players. But the academies that grow steadily term after term are the ones that also invest in the experience around the drills - how parents feel about the programme, how organised the scheduling and communication feels, and how clearly progress is communicated at the end of each term.
Parents of young beginners don't always know what good technique looks like. What they do know is whether their child comes out of every session excited to come back, and whether the academy feels professional, responsive, and organised. Those two things, a child who loves it and a parent who trusts the academy, are what drive re-enrollment.
If you're running a tennis academy and want to manage scheduling, track attendance, automate parent communication, and make student progress visible in one place, Classcard is built for exactly that.
Running a tennis academy? Try Classcard free for 7 days or schedule a free demo - manage scheduling, attendance, payments, and parent communication in one platform, built for tennis academies.
Children can begin structured tennis activity from age 3-4 with very basic racket familiarisation and ball play. Formal drills with technique instruction are appropriate from around age 5-6. The key at younger ages is using the right equipment, foam balls, short rackets, and mini courts, to match the drill to the child's physical development.
At minimum: rackets sized appropriately for the age group (19-21 inch for under-8s, 23-25 inch for 8-10s), foam or low-compression red balls for beginners, a net or cones to simulate one, and a ball basket for feeding drills. Agility cones and hoops are useful additions for footwork and target drills but not essential.
For ages 4-6, sessions of 30-45 minutes are appropriate. For ages 7-10, 45-60 minutes works well. For 11-12 year olds beginning to develop more seriously, 60-90 minutes allows time for warm-up, technical work, and a competitive game format. Beyond these durations, attention and effort quality typically drops off.
No. Beginners should start on a short court using just the service boxes. This creates more rally exchanges, more touches per session, and more success, all of which build confidence and technique faster than a full court where most shots miss by metres. Progress to a three-quarter court as consistency improves, and a full court only when the player can sustain rallies comfortably.
Keep drills short (5-10 minutes maximum before changing), maximise ball contact for every player (no long queues), and use game-based formats with a competitive element wherever possible. Children learn better when they're slightly challenged and having fun simultaneously. If energy is dropping, switch to a game format immediately. King/Queen of the Court or Mini-Tennis will re-engage a group faster than any technical drill.