

The best swimming drills for beginners follow a five-stage progression: water comfort and breath control (bobs, bubble blowing), floating (front and back float), kicking (kickboard drills), basic arm movement (dog paddle, arm reach and pull), and combining these into a short, unassisted swim. Each stage should be reasonably solid before moving to the next, and technique-refinement drills like the Catch-Up or Zipper Drill come only after this foundation is in place.
Every swim coach remembers their first week with a brand-new swimmer: someone standing at the pool edge, unsure whether to trust the water at all. Before a single stroke gets taught, that trust has to be built, one small, repeatable skill at a time.
These 10 drills are organized around the five-stage progression beginner swimmers move through: water comfort and breath control, floating, kicking, basic arm movement, and putting it all together. Each drill includes age guidance, setup, coaching points, and variations for nervous or advanced-beginner swimmers, so you can pick the ones that match today's lesson goal.
If you're looking for drills to refine an existing swimmer's stroke technique rather than build fundamentals from scratch, our guide on 5 swimming drills to take your academy's coaching to the next level covers that next stage. Think of this post as what comes before it.
What Makes a Drill "Beginner-friendly"
A beginner drill has one job: reduce fear and build a single, small skill, in that order. Technique drills assume a swimmer already trusts the water and can move through it; beginner drills cannot assume that. They are shorter, repeated more often, and almost always paired with reassurance from the coach.
Three things separate a good beginner drill from one that will stall a nervous swimmer:
- it isolates one skill rather than combining several at once,
- it has a clear success marker ("blow bubbles for three seconds," not "get comfortable in the water"), and
- it can be modified on the spot if a swimmer flinches or freezes.
Water Comfort and Breath Control Drills
Nearly every downstream skill depends on a swimmer being willing to put their face in the water without panicking. Rushing this stage is the single most common reason beginner lessons stall.
1. Bobs
Ages: All beginner ages
Time: 5-8 minutes
Equipment: None
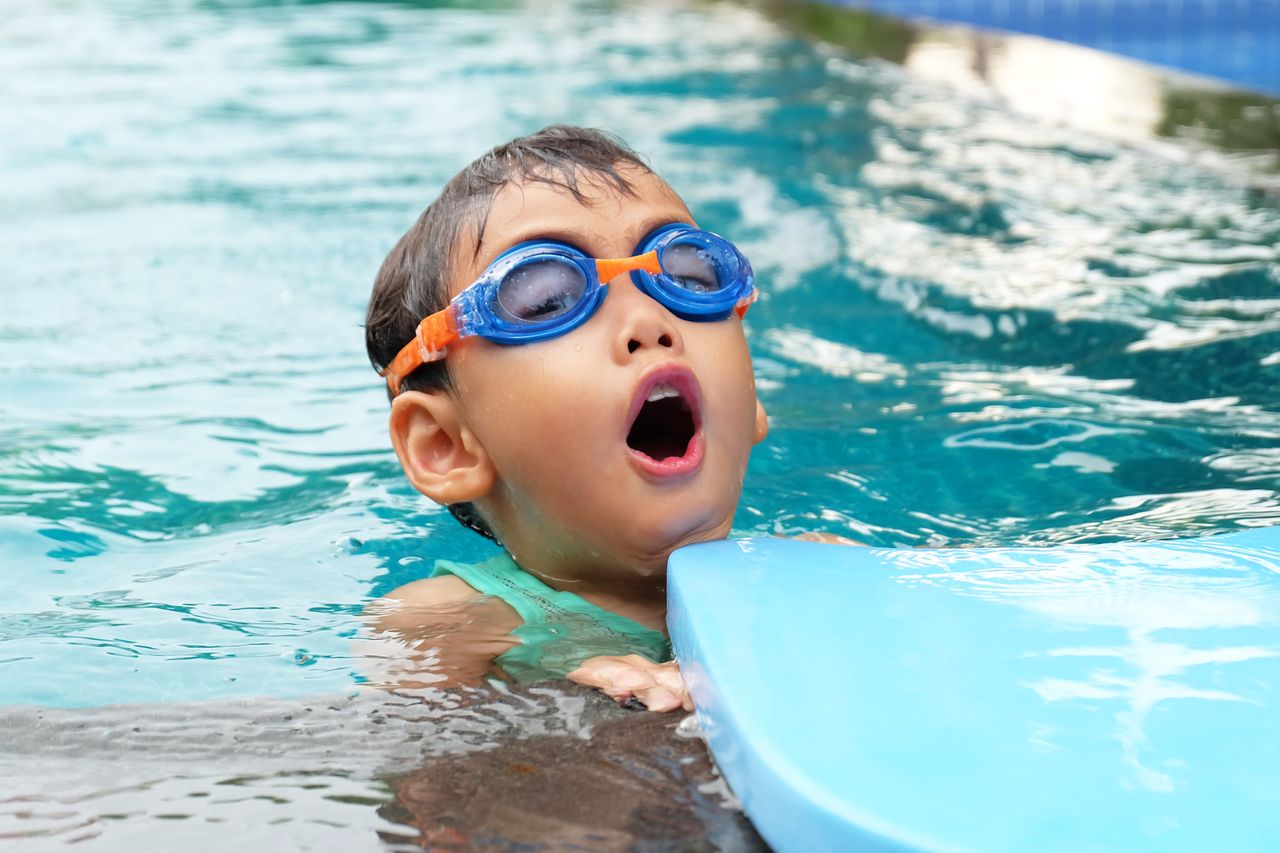
How-to: Standing in shallow water, the swimmer takes a breath, submerges fully, exhales through the nose or mouth, and stands back up. Repeat 10 to 15 times, resting as needed between reps.
Bobs are the fastest way to build tolerance for full submersion because they're short, controlled, and give the swimmer an immediate, predictable "up" to return to. Coaches can also read a lot from how a swimmer bobs: hesitation, held breath, or refusal to fully submerge all signal where to slow down.
Coaching points: Model the drill yourself first. Count out loud so the swimmer knows what to expect. Never force submersion; let the swimmer control the pace of their own bobs.
Variation for anxious swimmers: Start with a face splash and a brief chin-dip before asking for full submersion. Build up over several lessons rather than one.
2. Bubble Blowing
Ages: All beginner ages
Time: 3-5 minutes
Equipment: None
How-to: With the mouth and nose just below the surface, the swimmer blows a steady stream of bubbles for three to five seconds. Repeat several times, gradually extending the duration.
This drill teaches controlled exhalation underwater, which is what eventually lets a swimmer keep their face down while swimming instead of lifting their head to breathe on every stroke.
Coaching points: Cue "blow, don't hold" - many beginners hold their breath underwater by instinct, which builds tension. Watch for bubbles actually breaking the surface, not just cheeks puffed out.
Variation for progression: Once comfortable standing still, have the swimmer blow bubbles while walking slowly through shallow water to connect breath control with movement.
Floating Drills
Floating teaches a swimmer that the water will hold them up, which is a confidence skill as much as a physical one. It also builds the horizontal body position every stroke depends on later.
3. Front Float with Support
Ages: All beginner ages
Time: 5-6 minutes
Equipment: Pool noodle (optional)
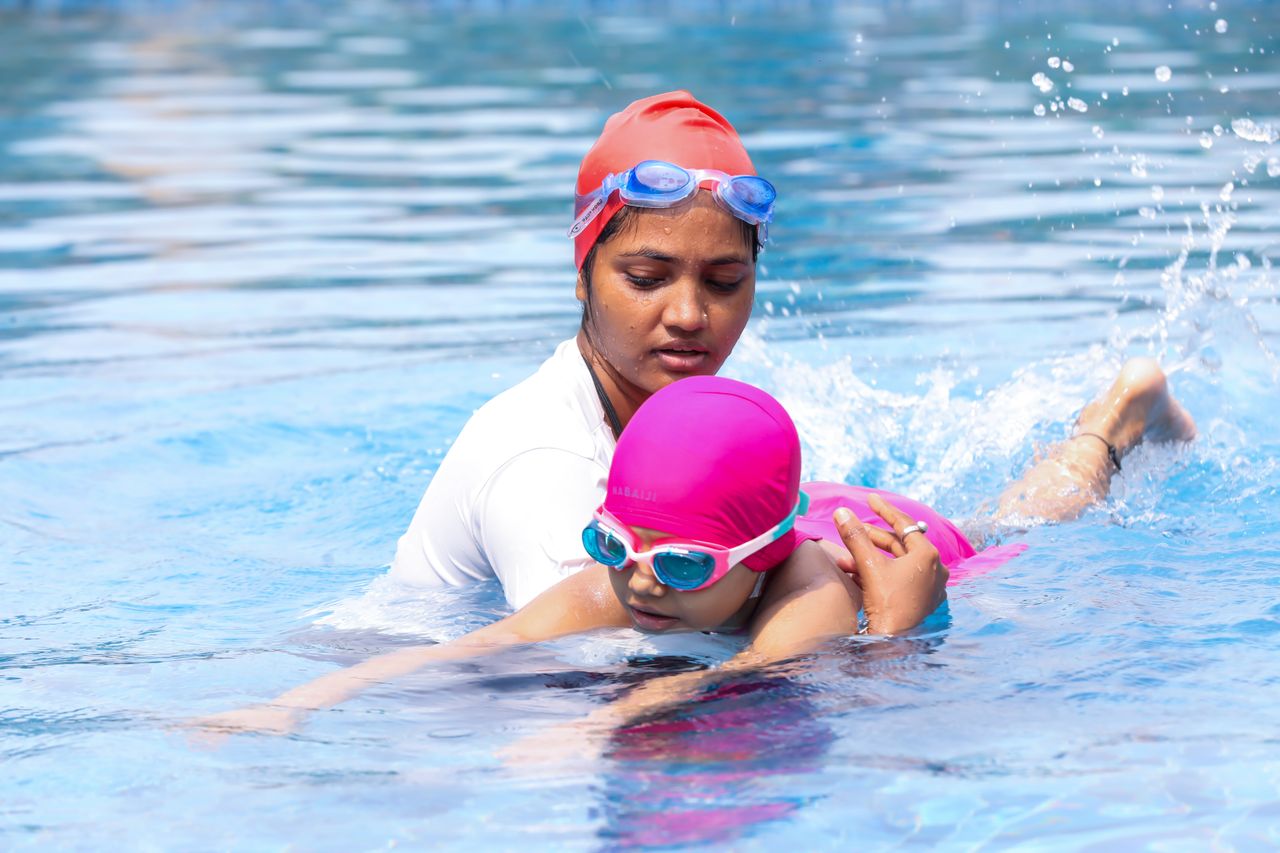
How-to: The coach supports the swimmer's chest, or the swimmer holds a pool noodle, while extending their arms and letting their legs rise behind them. Hold the position for 5 to 10 seconds before standing up.
Coaching points: Cue "look down, not forward" - lifting the head to look ahead drops the hips and legs, which is the most common front-float error. Keep support light rather than fully bearing the swimmer's weight.
Variation for nervous swimmers: Practice at the pool wall first, holding the gutter with both hands while extending the body into a float position, before removing the wall support.
4. Back Float with Support
Ages: All beginner ages
Time: 5-6 minutes
Equipment: None
How-to: The coach places a hand under the swimmer's shoulders while the swimmer leans back, ears in the water, belly button up, arms relaxed at their sides. Hold for 5 to 10 seconds.
Back floating is usually harder for beginners than front floating because it requires trusting the water without being able to see it. It's also the more important safety skill of the two, since a swimmer who can back float can rest indefinitely if they get tired.
Coaching points: Cue "ears in the water, belly button up." Keep the swimmer's head cradled rather than letting it tip back too far, which causes the hips to sink.
Variation for anxious swimmers: Start in very shallow water where the swimmer can feel the pool floor is close, which reduces the fear of "falling."
5. Unassisted Float
Ages: All beginner ages
Time: 5 minutes
Equipment: None
How-to: Once supported front and back floats are consistent, remove the support for short counts, 3 to 5 seconds, and build up gradually over several lessons.
This is the milestone that confirms the floating stage is solid. A swimmer who can hold an unassisted float has internalized that the water supports them, which is the confidence base the next two stages build on.
Coaching points: Stay within arm's reach even when not physically supporting the swimmer. Celebrate the first unassisted float explicitly; it's a genuine turning point for most beginners.
Kicking Drills
Kicking is usually the first propulsion skill beginners can generate on their own, and an early, confident glide off the wall does a lot for a swimmer's sense of independence in the water.
6. Kickboard Kick
Ages: All beginner ages
Time: 6-8 minutes
Equipment: Kickboard
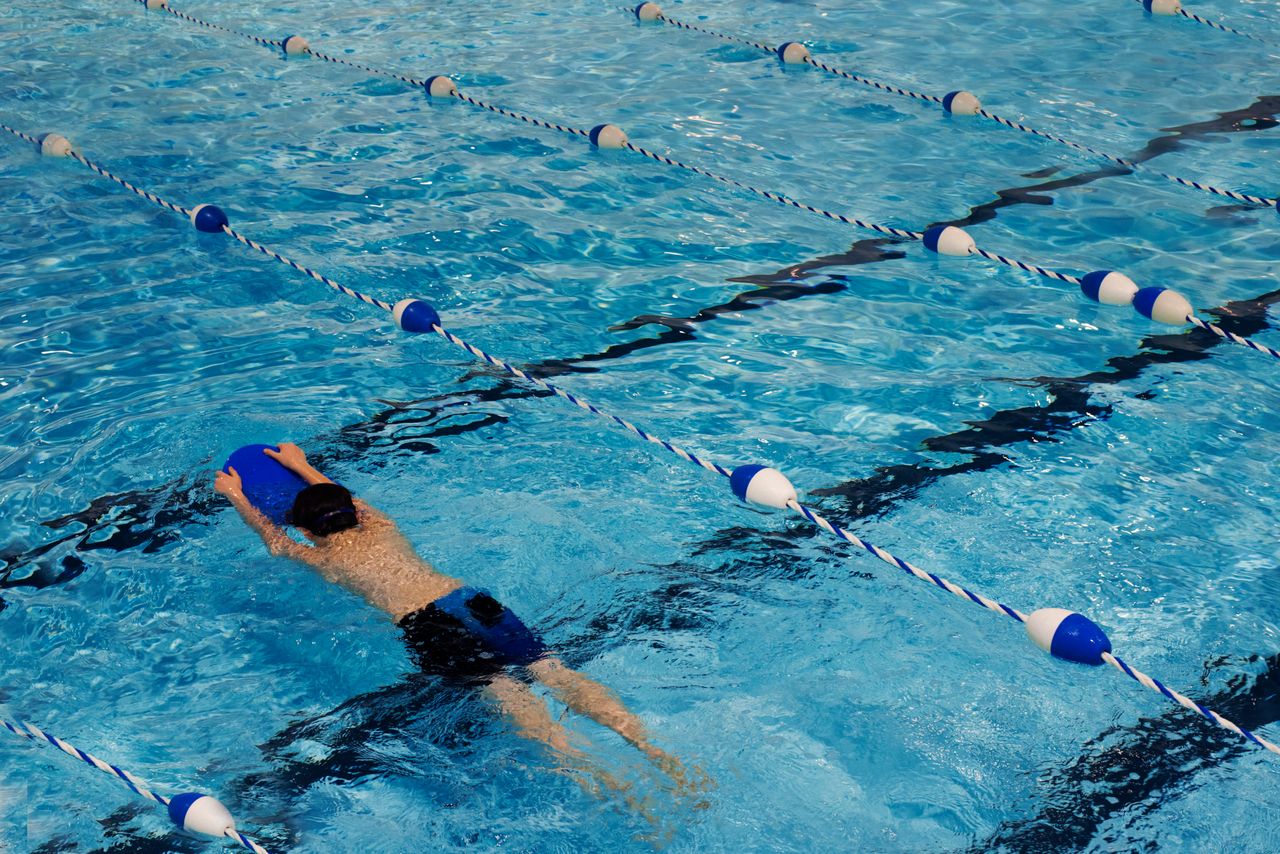
How-to: Holding a kickboard with both hands, arms extended, the swimmer kicks from the hips with relatively straight legs and small splashes, for short distances of 3 to 5 meters.
Coaching points: Cue "kick from your hips, not your knees" - bent-knee bicycle kicking is the most common beginner error and creates drag instead of propulsion. Small, fast splashes are more effective than large, slow ones.
Variation for correcting form: Practice the same kicking motion holding the pool wall or gutter, which isolates the leg motion before adding forward movement and lets the coach see and correct the kick up close.
7. Streamline Glide with Kick
Ages: All beginner ages
Time: 5-6 minutes
Equipment: None
How-to: Push off the wall in a streamlined position, arms extended overhead, hands stacked, and kick for a short distance without a kickboard.
This drill introduces the streamline position that every stroke starts from off the wall, and it removes the kickboard so the swimmer starts feeling their whole body work together rather than just their legs.
Coaching points: Cue "squeeze your ears with your arms" to keep the streamline tight. A strong push off the wall matters as much as the kick itself for early success.
Variation for beginners: Allow the head to stay slightly above water at first if full-face submersion during the glide causes hesitation; tighten the position over successive lessons.
Basic Arm Movement Drills
Introducing arm movement too early, before floating and kicking are solid, tends to make swimmers sink and panic. Sequencing this stage after kicking keeps the swimmer's body position stable while they learn a new motion.
8. Dog Paddle
Ages: Younger beginners especially
Time: 4-5 minutes
Equipment: None
How-to: With the head above water, the swimmer alternates arm pulls in a simple paddling motion while moving forward, combined with a gentle kick.
For very early swimmers, dog paddle builds comfort with moving the arms while the body is horizontal, without the added demand of face-in-water breathing coordination. It's a bridge skill, not an end goal.
Coaching points: Keep the motion relaxed rather than frantic; many beginners paddle much harder than necessary out of anxiety. This is a stepping stone toward front crawl arm motion, not a stroke to over-refine.
9. Standing Arm Reach and Pull
Ages: All beginner ages
Time: 5-6 minutes
Equipment: Kickboard (optional, for a supported variation)
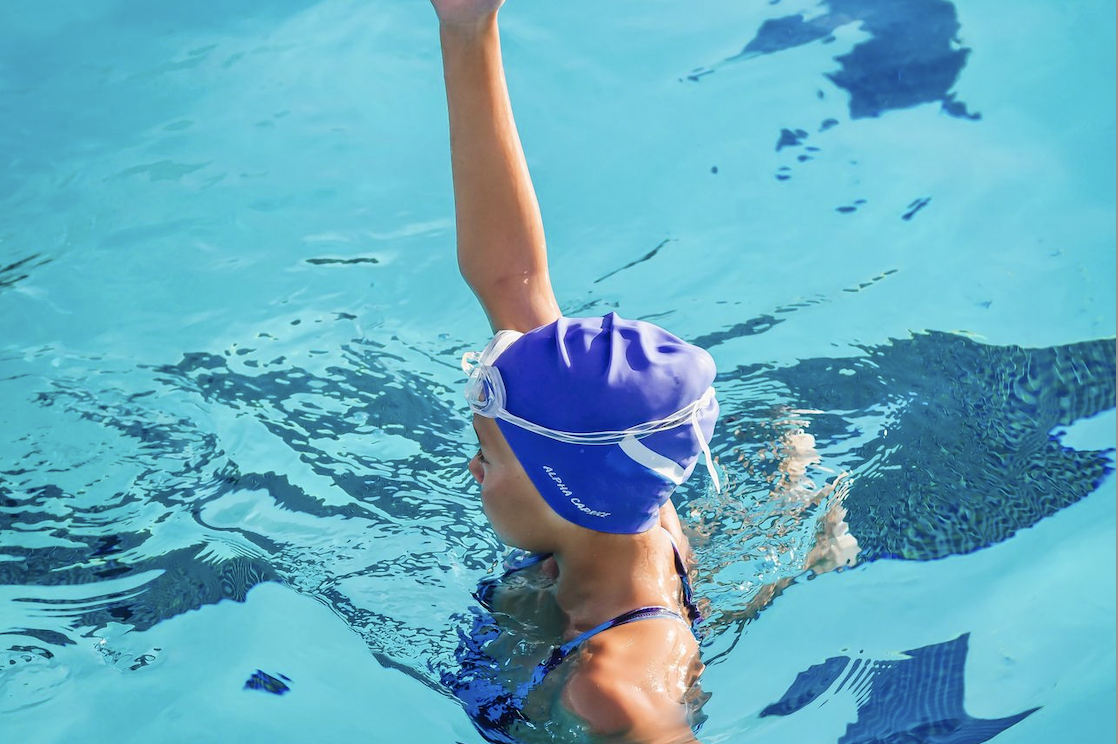
How-to: Standing in chest-deep water, the swimmer practices the front crawl arm motion, reach forward, pull back, recover overhead, on one side at a time before alternating.
Practicing the arm motion while standing removes the demands of floating and breathing at the same time, so the swimmer can focus entirely on the pull pattern before trying it while actually swimming.
Coaching points: Cue "reach, pull, recover" as a simple three-part rhythm. Correct one arm at a time rather than both together.
Variation for isolating the arms: Place a kickboard between the knees to remove the kick entirely, isolating the arm motion further for swimmers who are overcompensating with their legs.
Putting It Together
This is the moment a beginner curriculum has been building toward. It doesn't need to look polished, it needs to demonstrate that the swimmer can combine the pieces they've practiced separately.
10. Combined Front Crawl, Short Distance
Ages: All beginner ages
Time: 8-10 minutes
Equipment: None (kickboard available as a fallback)
How-to: Kick and arm motion together for 3 to 5 meters, breathing to the side as needed rather than on a fixed count. Finish with a short unassisted swim from the wall to the coach, standing a few meters away.
Coaching points: Let the first attempts be rough. The goal here is combination, not correction; technique refinement comes later, once this stage is consistent. Praise the successful combination explicitly, even if form is imperfect.
Variation as a milestone: For a swimmer's very first unassisted swim, keep the distance short enough that success is near-certain, 2 to 3 meters is plenty, and build distance gradually from there.
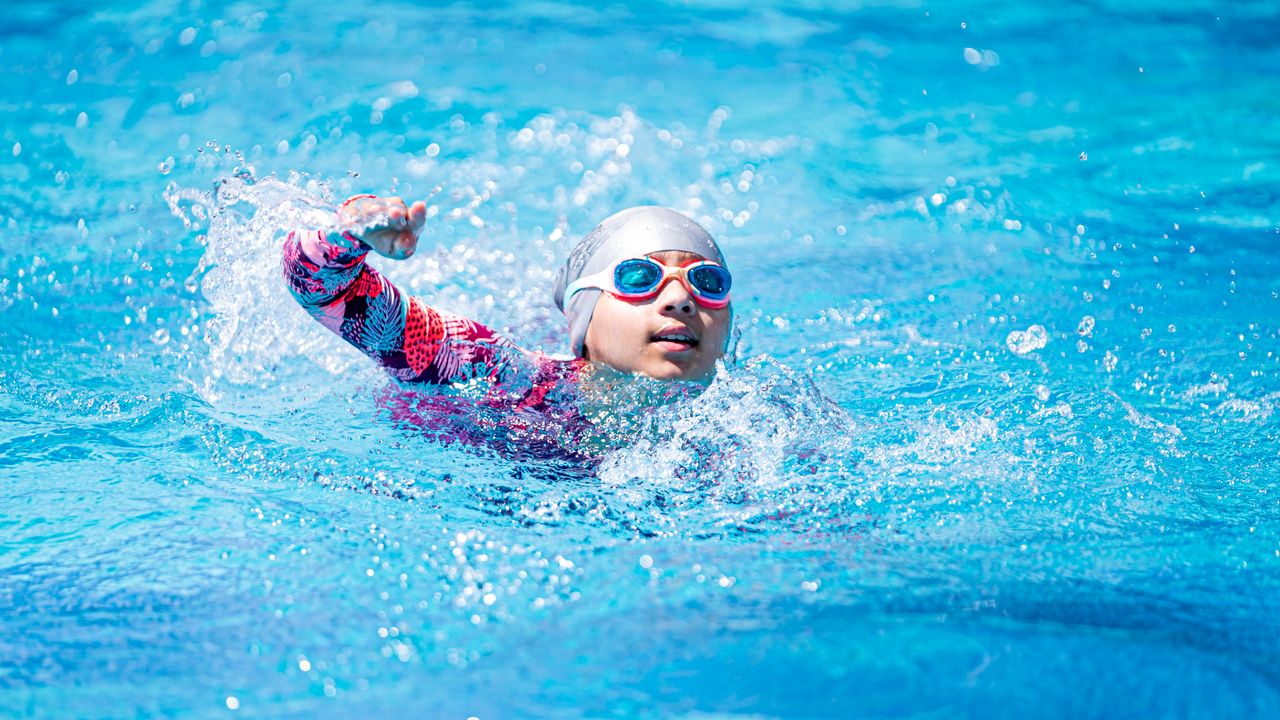
How to Structure a Beginner Lesson Around These Drills
A useful rule of thumb: spend the first few minutes of every beginner lesson on comfort and breath work, even with swimmers who have progressed past that stage. It re-establishes trust in the water before asking for anything harder.
A typical 30-minute beginner lesson looks like this:
- Warm-up and comfort (5 minutes): Bobs or bubble blowing, even for swimmers past this stage, to re-establish trust before the harder work.
- Core skill focus (10 minutes): Whichever stage the swimmer is currently working on, floating, kicking, or arm movement, drawn from the drills above.
- Unassisted practice or a game (10 minutes): Reinforces the same skill without it feeling like repetition. If drilling starts to feel repetitive, especially for younger swimmers, pairing it with games from our 15 fun swimming pool games post keeps the same skills in play with more engagement.
- Cool-down (5 minutes): A calm finish and a quick note on what to expect next lesson.
For ready-made lesson structures built around this kind of progression, our 10 swim lesson plan templates walks through several age-based versions in full.
Coaching Tips That Make the Difference
- Don't combine skills too early. Asking a swimmer to kick, breathe, and move their arms together before any one of those is solid usually causes regression, not progress.
- Treat fear as something to work through gradually, not push past quickly. A swimmer who is rushed past the comfort stage often develops habits, like holding their breath or lifting their head too high, that take much longer to unlearn later.
- Build water safety in from day one. Beginner drills should always sit inside a broader safety framework. Our guide on teaching water safety in swim schools covers what to layer in alongside the drills themselves.
- Give every drill a clear success marker. Without a marker like "unassisted float for 5 seconds," it's hard for either the coach or the swimmer to know when to move on.
- Move to technique drills once fundamentals are consistent. Once a swimmer can float, kick, and move their arms together for a short unassisted distance, drills like the Catch-Up, Shark Fin, or Zipper Drill from our technique-focused swimming drills guide are the natural next step. Introducing them earlier tends to frustrate both the swimmer and the coach.
Building a Beginner Curriculum That Scales
Teaching one beginner swimmer through this progression is straightforward. Doing it consistently across dozens of swimmers, multiple coaches, and a full class schedule is a different challenge, and it's where most swim academies start to feel the strain of manual tracking.
Parents of beginner swimmers don't always know what a solid front float should look like. What they do know is whether their child comes out of every lesson a little more confident, and whether the academy feels organized and communicates clearly about progress.
If you're running a swim academy and want to track each swimmer's progress through a curriculum like this one, schedule and staff beginner classes without double-booking instructors, and keep parents in the loop on what their child is working on next, Classcard's swim school management software is built for exactly that. Our post on swim school management and growth strategies is a useful next read if you're also thinking about scaling the business side alongside the curriculum.
Running a swim academy? Try Classcard free for 7 days or schedule a free demo - manage scheduling, attendance, payments, and parent communication in one platform, built for swim schools.
Frequently Asked Questions
What is the first drill to teach a beginner swimmer?
Breath control and water comfort drills, like bobs or bubble blowing, come first. Every later skill depends on a swimmer being willing to put their face in the water without panicking.
How long should a swimmer stay on beginner drills before moving to technique work?
There's no fixed timeline; it depends on the swimmer. A general marker is being able to float, kick, and combine basic arm movement for a short unassisted distance. Some swimmers reach that in a few weeks, others take a full season.
Can beginner drills be taught to adults, or are they just for children?
The same progression works for adult beginners. The drills themselves don't change much; what usually changes is pacing and how explicitly you talk through what each drill is building toward, since adults tend to want the "why" alongside the "how."
Do beginner swimming drills need to be done in a pool, or can some be practiced on land?
The core drills need water, but breathing and body-position cues can be rehearsed on land or at the pool edge first, which can help especially anxious swimmers feel more prepared before getting in. To ecplore more exercises which can be practiced on land, check out our guide on dryland workout for swimmers.