

Setting up online booking for your academy means giving prospective and existing students a page where they can browse your classes, check availability, pay, and confirm their spot, without calling you or sending a message. Done well, it fills off-peak slots, reduces admin, and converts more enquiries into enrolled students. Done poorly, it creates confusion, abandoned bookings, and a worse experience than just calling the studio.
If you are still taking bookings by WhatsApp, phone, or email, you are spending time every day on a task that should be automated. You are also losing enquiries from people who looked at your Instagram at 10pm, wanted to book a trial class, found no way to do it, and moved on.
Online booking is the fix. But "setting up online booking" covers a lot of ground, from choosing the right platform to configuring your class availability, payment options, and the registration form a new parent fills in before their child's first session. Getting these details right from the start is what separates a booking system that genuinely reduces your workload from one that creates new problems while solving the old ones.
This guide walks through every decision, in the right order, so your online booking setup works correctly from day one.
Why Online Booking Matters Beyond Convenience
The obvious benefit of online booking is time saved. If a parent can book a trial class, pay a deposit, and fill in a registration form without any staff involvement, that is 30 minutes of admin per new student that you get back every single week.
But the less obvious benefit is conversion. An enquiry that lands outside business hours, for example, a parent who sees your Instagram post on a Sunday evening, has a very short window of high intent. If the next step requires waiting until Monday morning to speak to someone, a significant proportion of those enquiries will not convert. If the next step is a booking page where they can confirm their spot in two minutes, most of them will.
Research on consumer behaviour consistently shows that the ability to complete a transaction immediately, at the point of interest, is one of the strongest predictors of conversion for service businesses. For studios and academies, online booking is the infrastructure that makes this possible.
There is also a professional signal. A studio with a clean, branded booking page looks more established than one that asks you to "DM us to book." In a market where parents are making decisions about where to enrol their child, that first impression matters.

Step 1: Decide What You Want Online Booking to Do
Before you configure anything, be clear about the role you want online booking to play in your student acquisition and management process. There are three common models and each has a different configuration.
Self-booking for group classes
Parents browse available classes, choose a time slot, pay, and are automatically confirmed. No staff involvement unless there is a specific issue. This is the simplest and most automated model, and it works well for studios with a straightforward timetable and no prerequisite assessment before a student joins a class.
Trial class booking
Prospective families book a single trial session, with or without upfront payment. After the trial, the conversion to a regular enrolment is handled either automatically (the parent is prompted to enrol at the point of trial booking) or manually (a staff member follows up after the trial). This model is common in martial arts schools, gymnastics academies, and swim schools where a trial is the standard first step.
Enquiry and qualification first
Some academies, particularly those with level assessments, interview stages, or limited capacity at specific levels, do not want to allow fully open self-booking. Instead, online booking captures the enquiry and initiates a process where a staff member contacts the family to place them in the right class. In this model, the "booking page" is closer to a lead form than a true booking system.
Most academies use a combination of all three: open self-booking for existing students managing their own schedule, trial booking for new families, and a lead form or contact mechanism for enquiries that need qualification.
Know which of these applies to which classes in your timetable before you configure anything. A class that should be open to anyone to book has different settings from one that should require staff approval before a booking is confirmed.
Step 2: Set Up Your Class Timetable for Online Visibility
Your booking page is only as useful as the class information behind it. Before you can take a booking, every class that should be bookable online needs to be correctly configured in your class management system.
For each class, confirm and enter the following:
- Class name and description: The name should be clear and specific - "Ballet Grade 2 (Ages 8–10), Tuesdays 4:30pm" tells a parent exactly what they are looking at. The description should answer the questions a parent would ask: what level is this suitable for, what should my child wear, is there anything to bring? A well-written class description reduces pre-booking questions and sets the right expectations before the first session.
- Capacity and seat availability: Set your maximum class size and make sure the booking system reflects real-time availability. If you have 12 spots and 10 are taken, a parent booking online should see 2 spots remaining, not a page that lets them book into a class that is already full.
- Pricing: Be explicit about what the online booking price covers. Is it a per-session drop-in rate, a term fee, or a monthly membership? If there is a trial pricing option, configure it as a separate product so it is clearly distinct from the regular enrolment fee.
- Booking restrictions: Decide whether a class requires a prerequisite (e.g., "students must have completed Grade 1 before booking Grade 2") and whether new students need approval before their booking is confirmed. Configure these rules in your system so they are applied automatically, not managed manually.
- Waitlist settings: For popular classes that fill quickly, enable a waitlist so that families who miss a spot are automatically notified when one opens up. A waitlist that functions properly fills cancellations without any staff involvement.
- Recurring vs one-off: Make sure the system correctly distinguishes between a recurring class enrolment (the student is booked every Tuesday at 4:30pm until further notice) and a one-off session booking (the student is attending a specific date only). Confusion between these two leads to billing errors and scheduling gaps.

Step 3: Configure Your Registration Form
Every new student who books online is also completing a registration. This is your opportunity to collect the information you need before their first session, instead of having to chase it afterwards by phone or email.
A well-designed registration form collects everything in one go without feeling burdensome. The key is to ask for what you genuinely need and nothing more.
For children's academies, the form typically needs:
- Child's full name and date of birth
- Parent or guardian name and contact details (email and phone)
- Emergency contact (name, relationship, phone)
- Medical information (conditions, allergies, medications relevant to physical activity)
- E-signature consent for participation and photography policy
- How they heard about the academy (for referral tracking)
Optional but useful:
- Previous experience at the level being booked (helps instructors prepare)
- Which specific instructor or class time they were referred to
What to avoid:
Asking for information you will not actually use. Long forms abandon at higher rates. If your admin team does not look at a field, remove it. Every unnecessary field is a reason for a parent to give up halfway through.
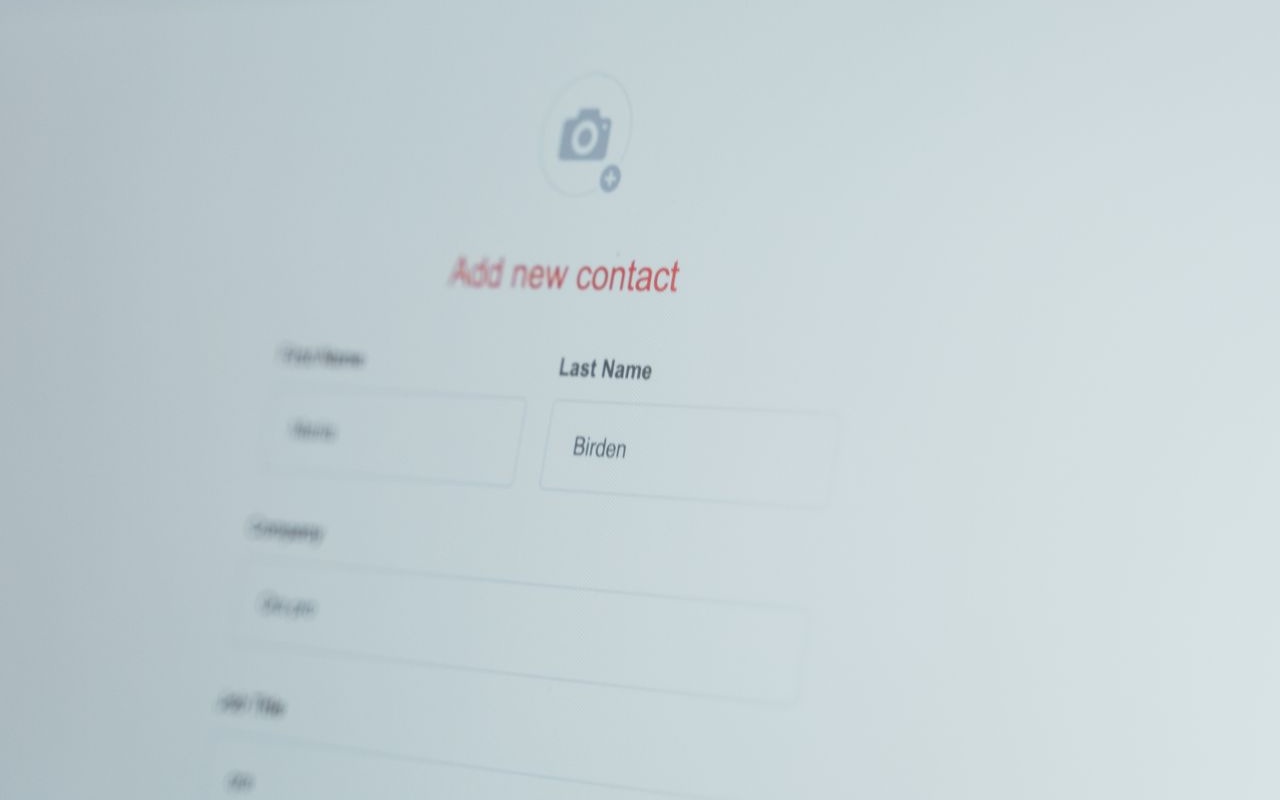
Classcard's registration forms are fully customisable, which means you can collect exactly this information and configure it per class type if your different disciplines need different details. The form is embedded in the booking flow, so the registration and the booking happen in a single session rather than two separate steps.
Step 4: Set Up Payment Collection
Online booking without payment collection is not really online booking, it is online enquiry. For the booking to be confirmed and the spot to be reserved, payment should happen at the point of booking.
What to configure:
- Accepted payment methods: Most platforms integrate with Stripe, Razorpay, or similar payment processors. Confirm which cards and payment methods your families actually use. In the UAE market specifically, where Classcard has a strong presence, local payment method support matters.
- What is collected at booking: Decide whether you collect the full term fee at booking, a trial fee, a deposit, or nothing. Each has different implications for your cashflow and your cancellation policy.
- Automatic receipts and invoices: Confirm that the platform sends a payment confirmation and receipt to the parent automatically. This is not a nice-to-have; parents expect it, and not receiving one generates a support query.
- Failed payment handling: What happens if a card is declined at the point of booking? The booking should not be confirmed until payment clears. Configure the failure behaviour so the family is shown a clear error and prompted to retry or use a different card.
- Refund and cancellation policy: Make this visible on the booking page before payment is taken. Families should not need to contact you to find out what happens if they cancel.

Step 5: Configure Your Booking Page
Your booking page is what families see when they click the link you share. It needs to be clear, professional, and fast to navigate; the fewer clicks between "I want to book" and "booking confirmed," the better.
- Your academy's branding: The page should carry your logo, name, and colour scheme. A generic booking page that looks like it belongs to the software company rather than your academy undermines the professional impression you are trying to create. On Classcard's Growth plan and above, you get a PWA-enabled booking page on a custom domain, so the URL reads as your academy's address.
- Class listing layout: Parents should be able to filter or browse classes by day, age group, level, or discipline. If your timetable is large, a search or filter function prevents the experience of scrolling through thirty classes to find the one relevant slot.
- Clear class information before clicking through. The listing view should show enough information (class name, level, day and time, price, and available spots) that a parent can identify the right class before clicking into the detail page.
- Mobile optimisation: The majority of booking page visits come from phones. Test your booking flow on a mobile device before going live. If the form fields are too small to tap accurately, or the payment step does not render correctly on a phone screen, you will lose bookings.
- A confirmation page and email: After a successful booking, the parent should see a confirmation page immediately and receive a confirmation email within seconds. Both should include the class details, the date and time, the location, and what to bring or expect. This reduces the "did my booking go through?" messages and sets the right expectations before the first session.
Step 6: Reduce No-Shows with Automated Reminders
A booking made three weeks in advance is easy to forget. Automated reminders are the simplest, highest-return feature of any online booking system, and most academies underuse them.
- At minimum, configure two reminders per booking:
- A reminder 24 to 48 hours before the session, sent by email or WhatsApp. This is the primary no-show reduction tool. Most families who do not show up simply forgot; a reminder the day before converts the majority of those would-be no-shows into attendances.
- A reminder on the morning of the session, for trial classes specifically. The trial is your most valuable conversion moment; a same-day reminder is worth the few minutes it takes to configure.
- For recurring class students: A weekly or termly reminder is less necessary than for one-off bookings, but a reminder at the start of each new term, confirming that the student's regular slot is reserved and including any new term information, reinforces the enrolment and reduces early-term dropout.
- WhatsApp reminders: In markets where WhatsApp is the primary communication channel, WhatsApp reminders outperform email reminders significantly in open and action rates. Classcard's WhatsApp integration, available on Growth and above, lets you send automated reminders directly to a parent's WhatsApp number without any manual effort.
Step 7: Make Your Booking Page Discoverable
A booking page that is not easy to find does not generate bookings. Once your page is live, make sure it is prominently accessible from every place a prospective family might look for you.
- Instagram and social media bio: This is the highest-priority link placement. Anyone who finds your studio on Instagram and wants to take action should be able to click directly to your booking page from your bio. "Book a trial" as the bio link, pointing directly to your trial booking page, is the clearest possible call to action.
- Website header and homepage: If you have a website, the booking page link should be in the navigation and in the main call-to-action on the homepage. Do not bury it.
- Google Business Profile. Add your booking link to your Google Business Profile. Families who find you on Google Maps should be able to book directly from the listing.
- WhatsApp and email responses: When someone enquires by message or email, include the booking link in your reply. "Here is the link to book your trial class directly: [link]" closes the loop faster than a back-and-forth conversation about availability.
- Referral sharing: If you run a referral programme, the booking link is what existing families share with their network. Make sure the link is easy to copy and share - ideally a short, clean URL rather than a long parameter-heavy string.
How Classcard's Online Booking Works in Practice
Classcard's online booking system is built specifically for class-based academies - the kind of business where students enrol into recurring group classes, progress through levels, and have parents who need visibility into schedules and payments.
The booking page is personalised to your academy: your name, your logo, your class listing. Parents can browse available classes, filter by day or age group, check real-time availability, and complete the booking, including registration form and payment, in a single flow. There is no separate login required for new families, which removes a significant friction point that abandoned bookings on many platforms.
Self-booking is configurable per class. Classes that should be open to anyone can be booked immediately. Classes that need staff approval trigger a review step before the booking is confirmed. Waitlists activate automatically when a class reaches capacity and notify the next family in line when a spot opens up.
The PWA booking experience gives your academy a branded, app-like page accessible from any device without requiring an App Store download. Parents add it to their phone's home screen and access it the same way they would a native app. The custom domain option means the URL is your academy's address, not a third-party platform URL.
Automated reminders, by email and WhatsApp, run without manual intervention once configured. Classcard's AI-native WhatsApp integration handles routine parent queries (class times, booking status, fee confirmations) without needing a staff member to respond, which is particularly useful during busy enrolment periods.
For academies currently managing bookings through WhatsApp, a Google Form, or a generic booking tool that was not built for class-based businesses, the operational difference is significant. The best class management software guide covers how Classcard compares to the other leading platforms if you are still in the evaluation stage.

Online booking is not a feature, it is the front door of your academy for anyone who finds you outside business hours, which in 2026 is most of your prospective families. A well-configured booking system fills your timetable without consuming staff time, converts high-intent enquiries before they lose momentum, and gives existing families the self-service experience they expect from any modern service business.
The seven steps above cover everything you need to get it right from the start: clarity on what you want booking to do, a properly configured timetable, a registration form that collects the right information, payment collection at the point of booking, a branded and mobile-optimised booking page, automated reminders, and a plan for making the page easy to find.
Classcard's online booking is included from the Starter plan at $99/month, with the custom domain and PWA experience available on Growth at $199/month. If you want to see the booking flow in the context of your own academy, book a free demo or start a free 7-day trial, no credit card required.
Frequently Asked Questions
Does online booking work for trial classes as well as regular enrolments?
Yes. Most class management platforms, including Classcard, let you configure trial classes as a separate booking option with their own pricing, registration form fields, and follow-up workflow. You can require payment at the point of trial booking or allow free trial bookings depending on your conversion process.
What happens when a class is full?
A properly configured booking system stops accepting bookings when a class reaches its capacity limit and offers a waitlist instead. When a spot opens up, due to a cancellation or a capacity increase, the next family on the waitlist is notified automatically. This prevents overbooking and handles cancellations without any manual intervention.
Can I control which classes are open for online booking?
Yes. In Classcard and most class management platforms, you can configure each class individually: open self-booking, require staff approval before confirming, allow bookings only for existing students, or disable online booking entirely for a specific class. This gives you full control over which parts of your timetable are publicly bookable.
Do parents need to create an account to book?
On Classcard, new families can complete a booking, including the registration form and payment, without creating an account first. An account is created as part of the booking process, so there is no login barrier at the point of first booking.
What payment methods can I accept through online booking?
This depends on your payment gateway integration. Classcard integrates with Stripe, Razorpay, and several other payment gateways, which support credit and debit cards. Check the specific payment method support for your country when setting up.
How do I reduce no-shows from online bookings?
Automated reminders are the most effective tool: a reminder 24 to 48 hours before the session reduces no-shows significantly. A same-day reminder for trial classes is particularly valuable. Requiring payment at the point of booking (rather than allowing free bookings) also reduces no-show rates, because families who have paid are more committed to attending.
Can I add online booking to my existing website?
Yes. Most class management platforms provide a booking link or embeddable widget that can be added to an existing website. On Classcard, your booking page has its own URL that you can link to from your website, social media, and any other channel. On the Growth plan and above, this URL can be on your own custom domain.
What is the difference between a PWA and a native app for student booking?
A PWA (progressive web app) is a website that behaves like an app on a mobile device. Families access it through a browser link and can add it to their phone's home screen, where it opens without a browser bar and looks and feels like a native app. There is no App Store download required. Classcard's PWA is available on Growth and above. A fully native iOS/Android app (listed in the App Store under your academy's name) is a separate add-on, available on Growth, Business, and Enterprise plans.